Install UBUNTU 20.04 server
Overview
Ubuntu Server is a variant of the standard Ubuntu you already know, tailored for networks and services. It’s just as capable of running a simple file server as it is operating within a 50,000 node cloud. Unlike the installation of Ubuntu Desktop, Ubuntu Server does not include a graphical installation program. Instead, it uses a text menu-based process.
This guide will provide an overview of the installation from either a DVD or a USB flash drive.
Requirements
Ubuntu 20.04 Server Edition provides a common, minimalist base for a variety of server applications, such as file/print services, web hosting, email hosting, etc.
This version supports four 64-bit architectures:
- amd64 (Intel/AMD 64-bit)
- arm64 (64-bit ARM)
- ppc64el (POWER8 and POWER9)
- s390x (IBM Z and LinuxONE)
The recommended system requirements are:
- 2 GHz dual core processor or better
- RAM: 4 gigabyte or more
- Disk: 25GB with a minimum of 2.5 gigabytes free
- Internet access is helpful
- Either a DVD drive or a USB port for the installer media
Download the installation package
- Get UBUNTU server 20.04 ISO file from the UBUNTU download page.
- Burn the ISO file to CD / DVD or create a bootable USB medium.
Boot from install media
To trigger the installation process, perform the following:
- Put the Ubuntu DVD into your DVD drive (or insert the USB stick or other install media).
- Make sure your boot-order in BIOS is set to read from the CD or USB device first
- Restart your computer.
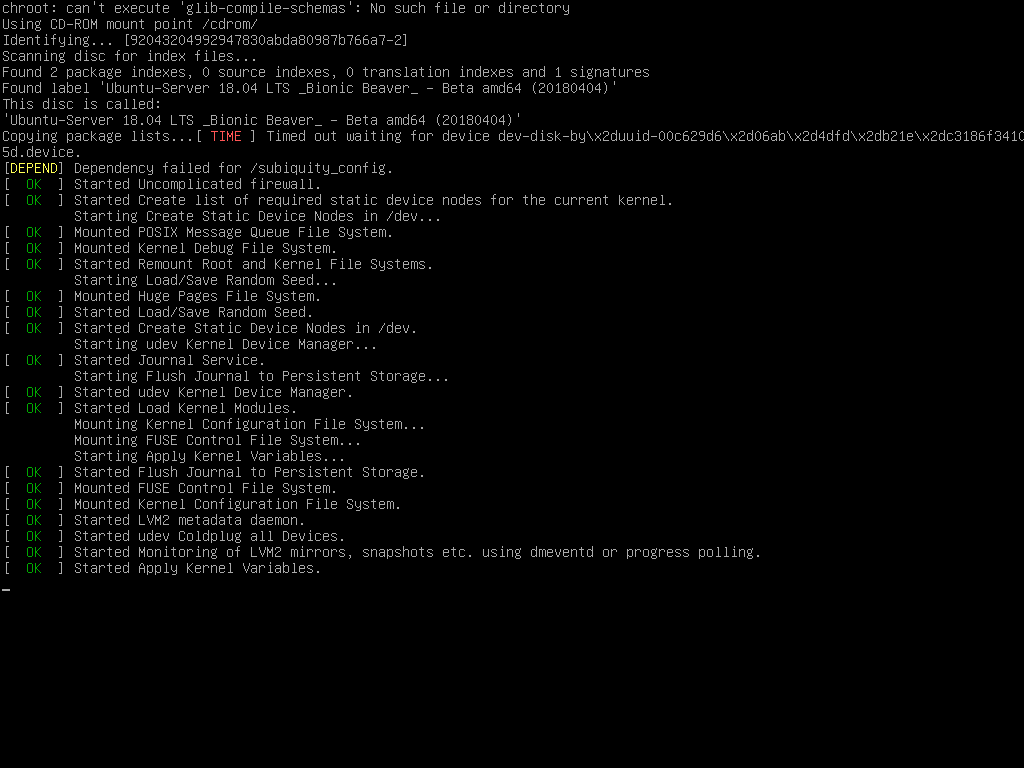
After a few moments, you should see messages like those shown below on the screen…
Choose your language
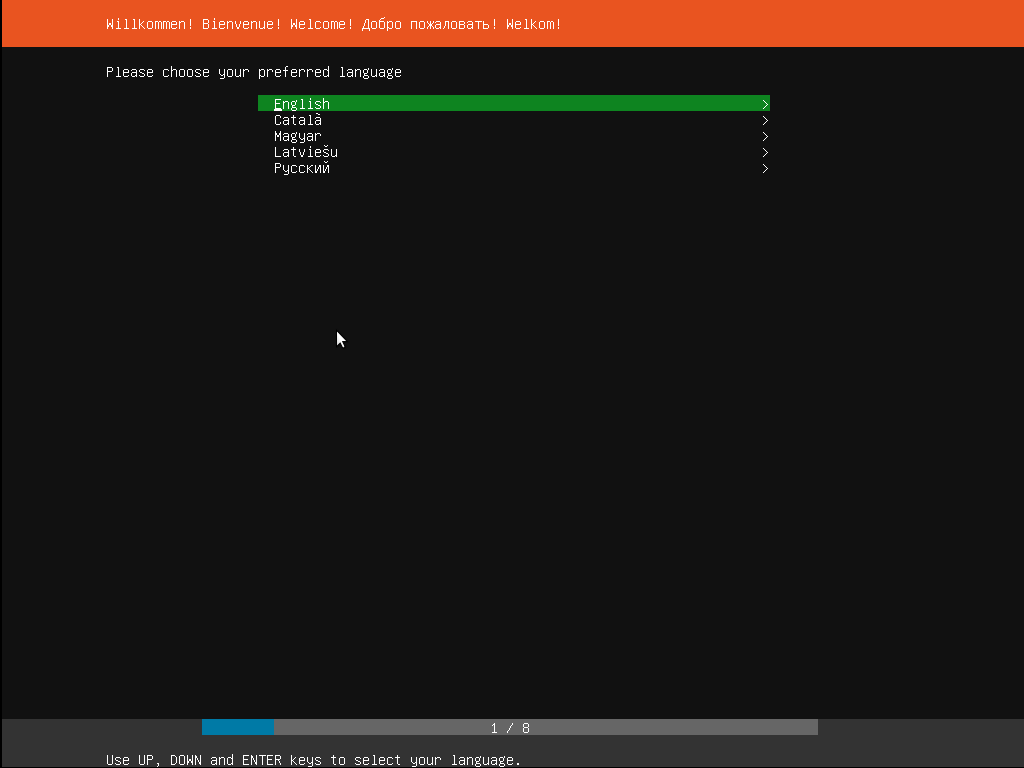
After the boot messages appear, a ‘Language’ menu will be displayed.
As the message suggests, use the Up, Down and Enter keys to navigate through the menu and select the language you wish to use.
Choose the correct keyboard layout
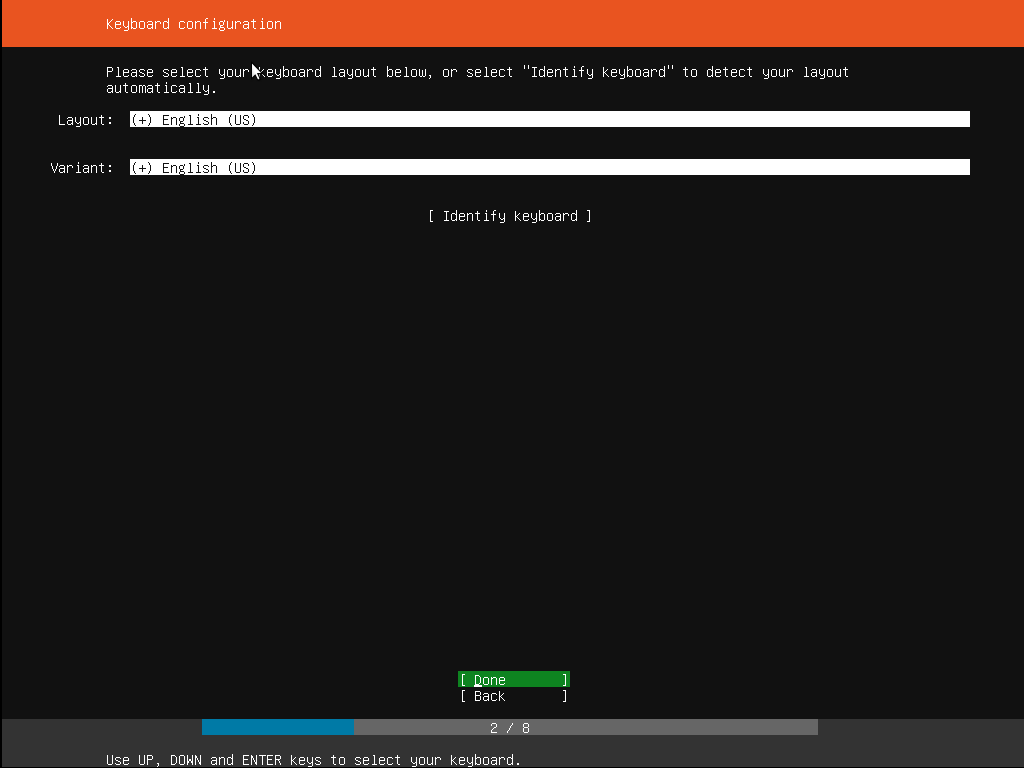
Before you need to type anything in, the installer will next display a menu asking you to select your keyboard layout and, if applicable, the variant.
If you don’t know which particular variant you want, just go with the default - when Ubuntu Server has been installed you can test and change your preferences more easily if necessary.
Choose your install
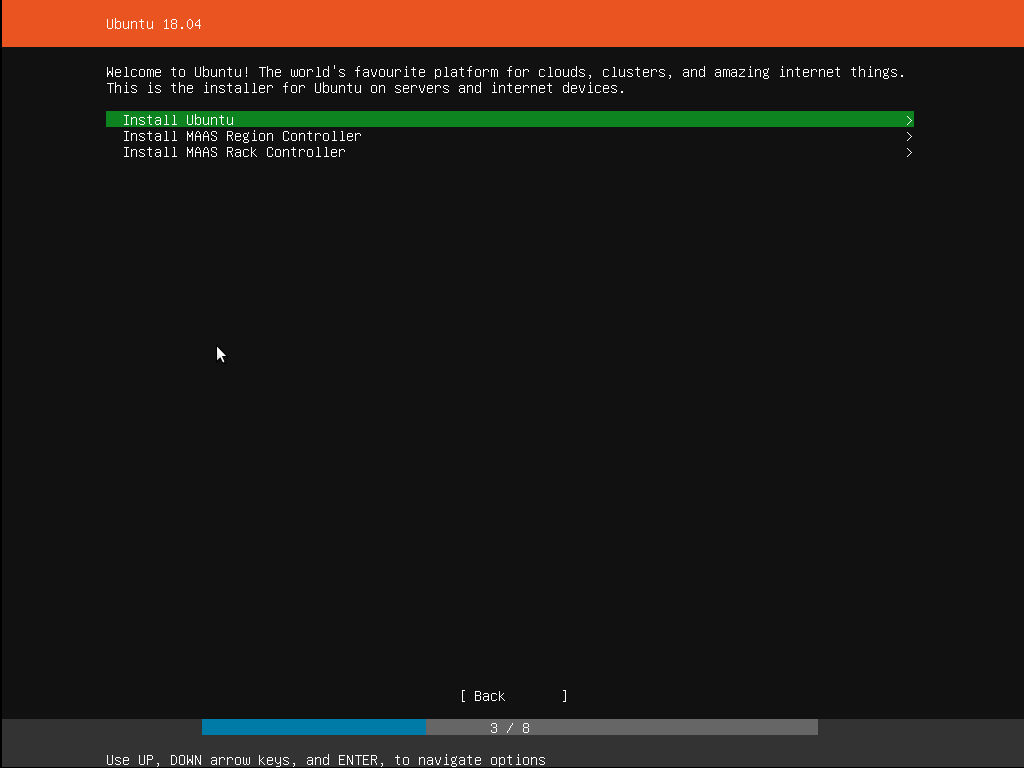
Now we are ready to select what you want to install. There are three options in the menu:
The bottom two options are used for installing specific components of a Metal As A Service (MAAS) install.
If you are installing MAAS, you should check out the MAAS documentation for more information on this!
The rest of this tutorial assumes you select the first option, Install Ubuntu.
Networking
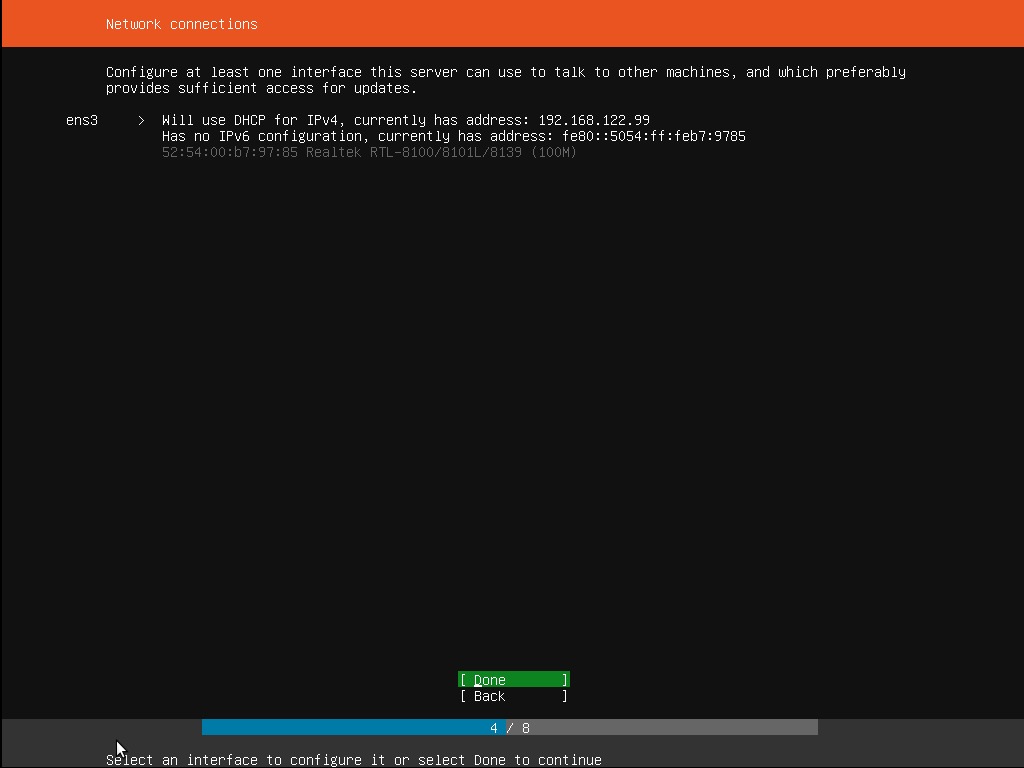
The installer will automatically detect and try to configure any network connections via DHCP.
It is recommended to have a fixed IP address so you know how to access the sever from another device(s). Use a reserved IP address on your router DHCP setting or choose an IP outside the routers DHCP range; example: if the router's IP range is from 192.168.1.100 to 192.168.1.200, set network IP address in the range of 192.168.1.201 to 192.168.1.254.
If no network is found, the installer can continue anyway, it just won’t be able to check for updates. You can always configure networking after installation.
Configure storage
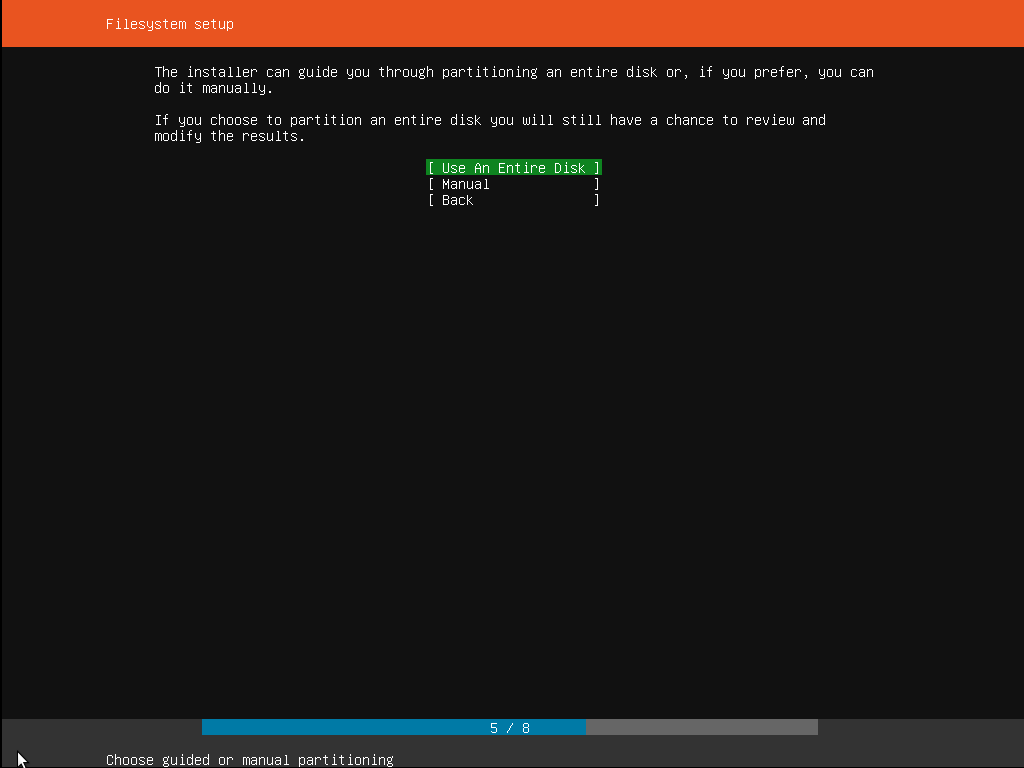
The recommended install is to have an entire disk or partition set aside for running Ubuntu.
If you need to set up a more complicated system, the manual option will allow you to select and reorganize partitions on any connected drives.
Note that Ubuntu no longer requires a separate partition for swap space, nor will the automated install create one.
Select a device
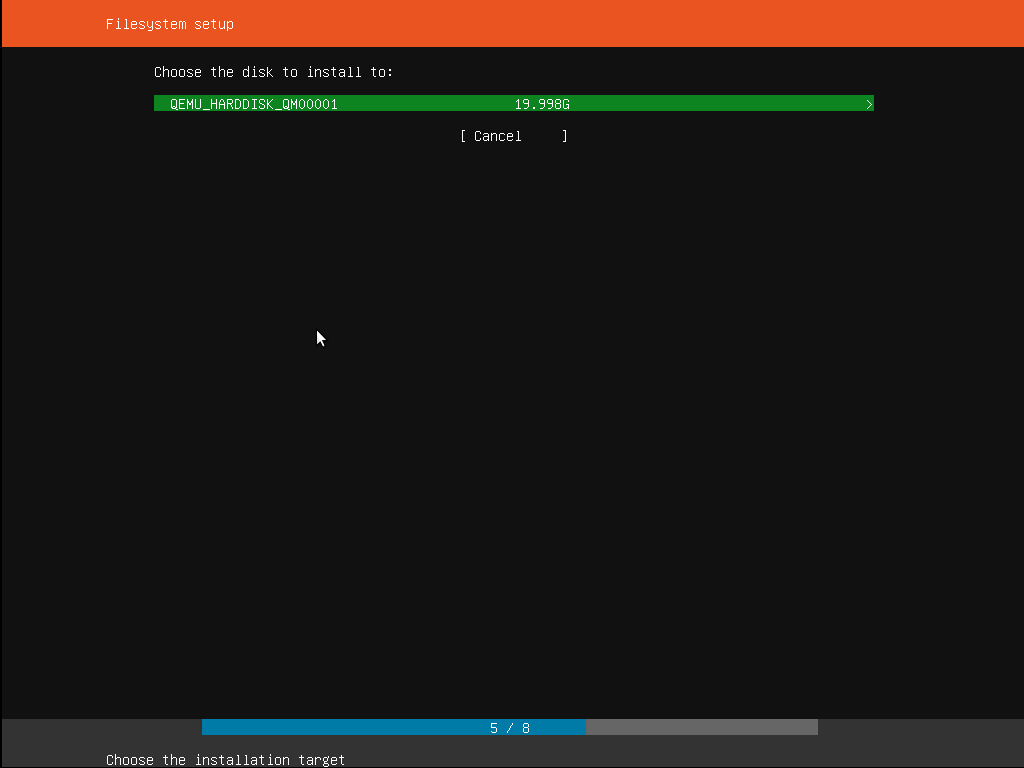
Select a disk from the ones detected on the system.
To help identification, the drives will be listed using their system ID. Use the arrow keys and enter to select the disk you wish to use.
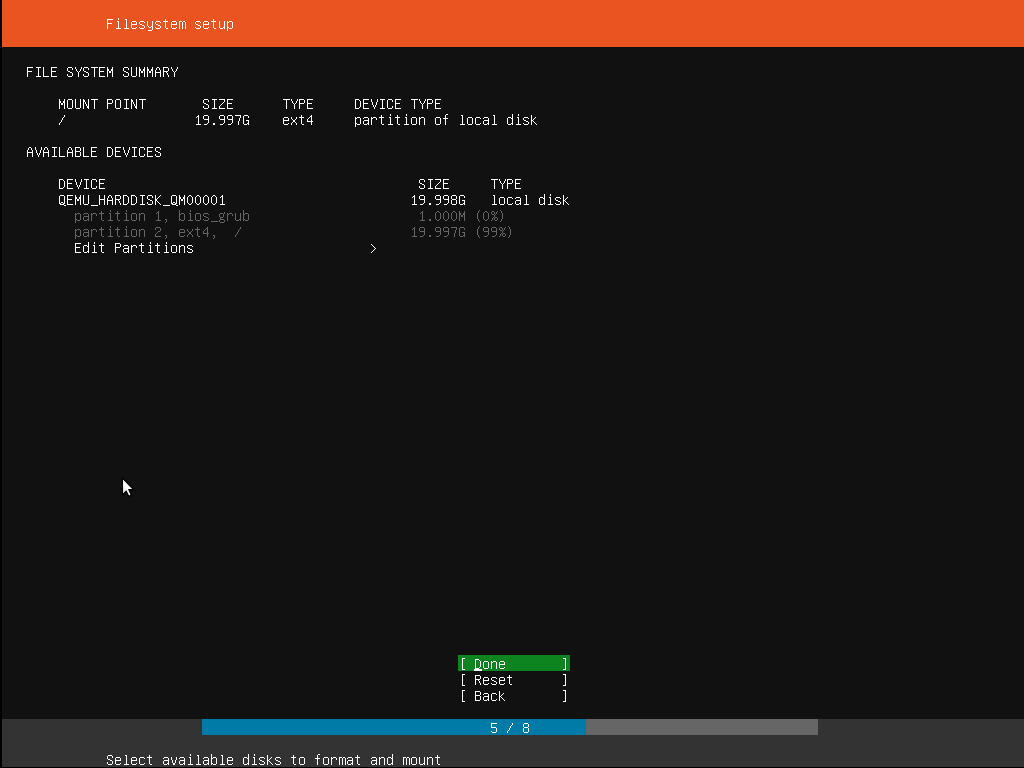
Confirm partitions
With the target drive selected, the installer will calculate what partitions to create and present this information.
If this isn’t what you expected to see (e.g., you have selected the wrong drive), you should use the arrow keys and enter to select Back from the options at the bottom of the screen. This will take you back to the previous menu where you can select a different drive.
It is also possible to manually change the partitions here, by selecting Edit Partitions. Obviously you should only select this if you are familiar with how partitions work.
When you are happy with the disk layout displayed, select Done to continue.
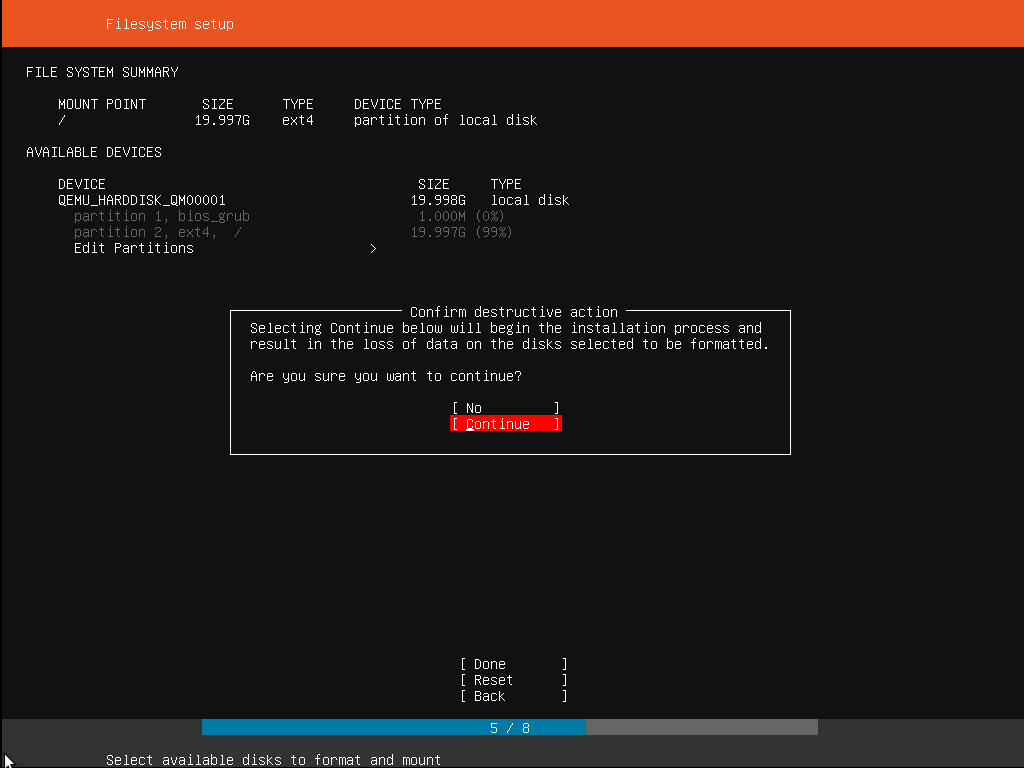
Confirm changes
Before the installer makes any destructive changes, it will show this final confirmation step. Double check that everything looks good here and you aren’t about to reformat the wrong device!
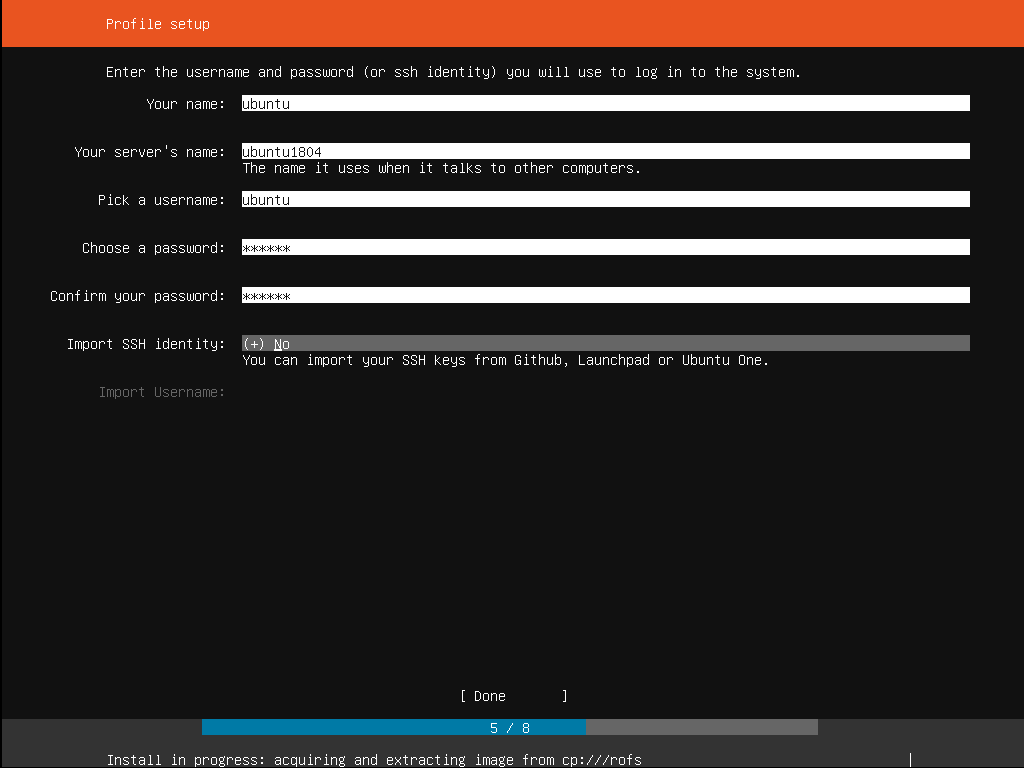
Set up a user Profile
The software is now being installed on the disk, but there is some more information the installer needs. Ubuntu Server needs to have at least one known user for the system, and a hostname. The user also needs a password.
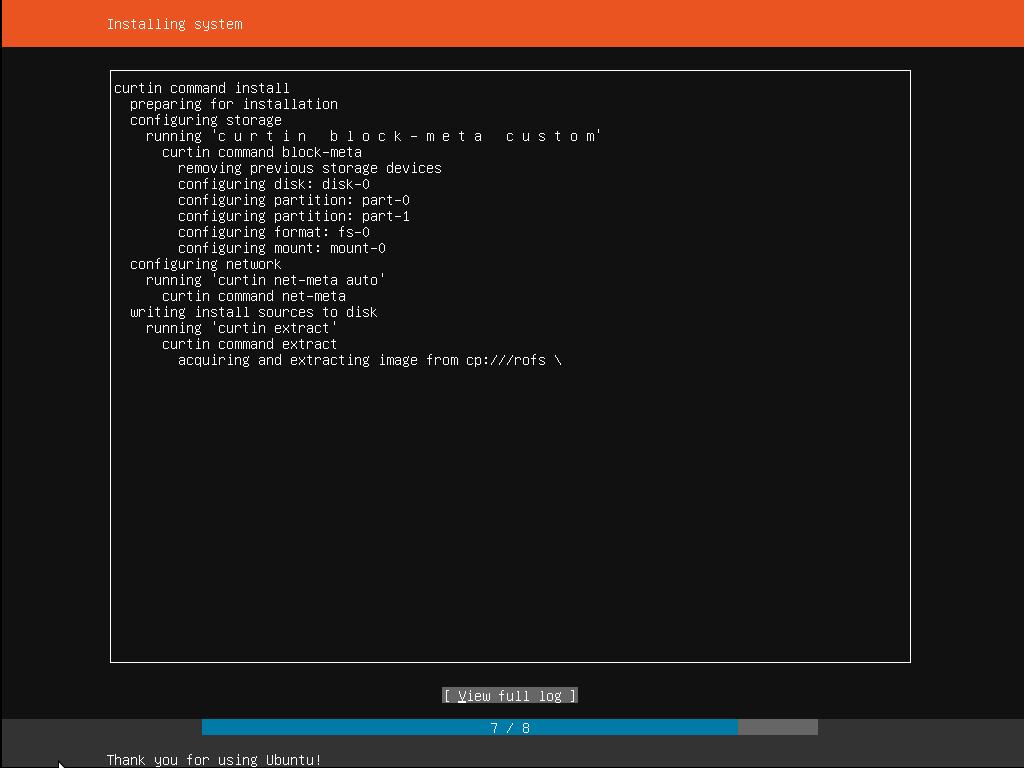
Install software
Once you have finished entering the required information, the screen will now show the progress of the installer. Ubuntu Server now installs a concise set of useful software required for servers. This cuts down on the install and setup time dramatically. Of course, after the install is finished, you can install any additional software you may need.
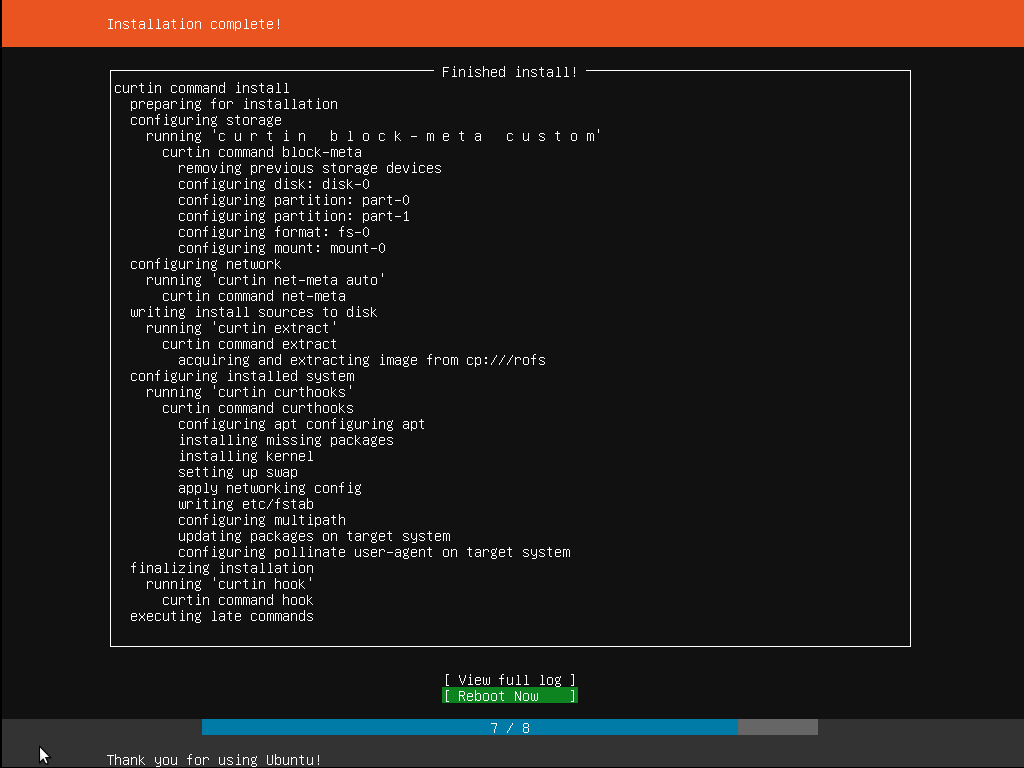
Installation complete
When the install is complete, you will see a message like this on the screen.
Remember to remove the install media, and then press enter to reboot and start the server.
Welcome to Ubuntu!
Initial Server Setup with Ubuntu 20.04
The new Ubuntu 20.04 server need some important configuration steps as part of the basic setup. These steps will increase the security and usability of your server, and will give you a solid foundation for subsequent actions.
This requires a Command Line Interface (CLI). Either you can continue on the server itself with the connected screen and keyboard or connect to the server via SSH (secure TELNET) from another device that has SSH client installed. A recommended client is PUTTY. Windows 10 also has a build in SSH client that can run from the command window
First time login
SSH is activated by default and should be use over unsafe TELNET. Open your favorite SSH client and enter the IP address set in the 'Networking' part of the installation. If you forgot, check on the server console with command
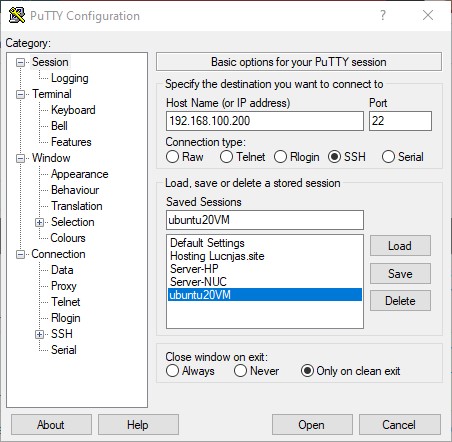
Using Putty; Set the IP address and select ssh (port 22). Click open to start the terminal.
From Windows command window enter: $ ssh Username@server_ip
Login with password created during the 'user profile' part of the installation. This User should have 'root' or superuser privileges, which you will need to install the LAMP stack and other features later.
Uncomplicated Firewall (UFW)
If you are behind a router you are fairly isolated from the Internet. If you feel the need for some extra protection, configure the UFW.
Applications can register their profiles with UFW upon installation. These profiles allow UFW to manage applications by name. OpenSSH, the service allowing to connect to the server now, has a profile registered with UFW. Let's see if there are any registered:
$ sudo ufw app list sudo means 'SuperUser DO'. It elevates the command to superuser and requires a (superuser)-password.
The answer most likely be:
Available applications:
 OpenSSH
We need to make sure that the firewall allows SSH connections so that we can log back in next time.
$ ufw allow OpenSSH
Enable UFW
$ ufw enanble
Check the status:
$ ufw status
Status: active
To               Action  From
--               ------  ----
OpenSSH          ALLOW   Anywhere
OpenSSH (v6)     ALLOW   Anywhere (v6)
UFW is up and running and new web-apps will be added later

