Out of the numerous Linux distributions, I favor Ubuntu, developed by Canonical Ltd.
Ubuntu is a Linux distribution with stable versions and great support. The Long-Term-support (LTS) versions receive (free) updates for 5 years and can be extended for another 5 years (paid support).
At release of a newer version, upgrade from the previous version is provided, just like you would upgrade to Windows10 from previous Windows version, with less fanfare.
In this How To, KUBUNTU is installed on VirtualBox. The 'K' stands for KDE (Kool Desktop Environment)
KUBUNTU has a similar desktop layout and menu system as Windows and a good candidate for users who what to use Linux. It comes with Firefox browser and LibreOffice installed. As with all operating system there is a learning curve. I don't think KUBUNTU has a steap learming curve for novice users.
What you need:
- Oracle VirtualBox (see How To: Virtual Machines with Oracle VirtualBox)
- Kubuntu package preferably version 20.04.2 LTS
- 20GB diskspace (or more)
Create VirtualBox Virtual Machine
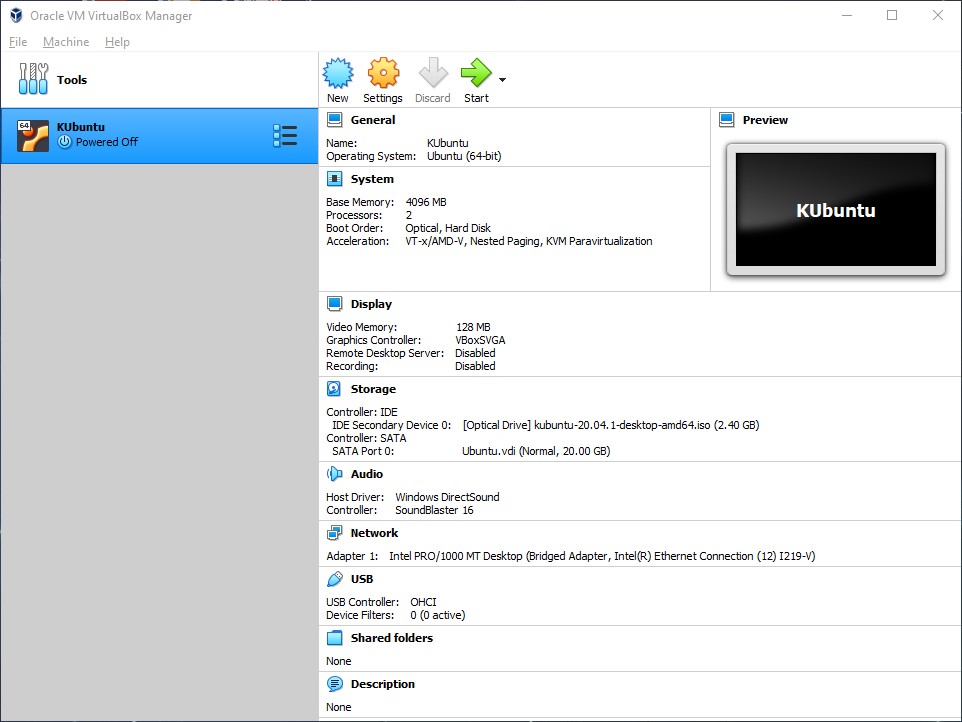
Create a new VM with settings as displayed in above image.
Display setting: select VBoxSVGA. Ignore the warning shown on the bottom of the pane! It will allow resizing (display resolution) of the VM window.
Load the kubuntu ISO file in the (virtual) Optical Drive.
Start the VM.
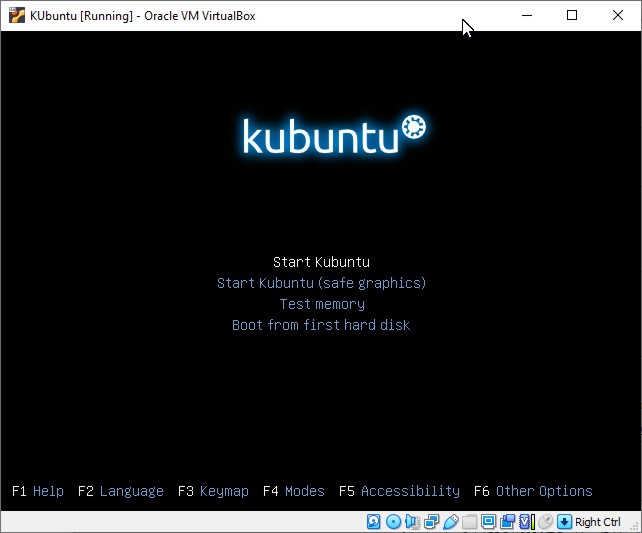
At startup, a validity check of the ISO file is started. If during the check a key is pressed, the above menu may be displayed. Otherwise the installation script will be started following the initial ISO check.
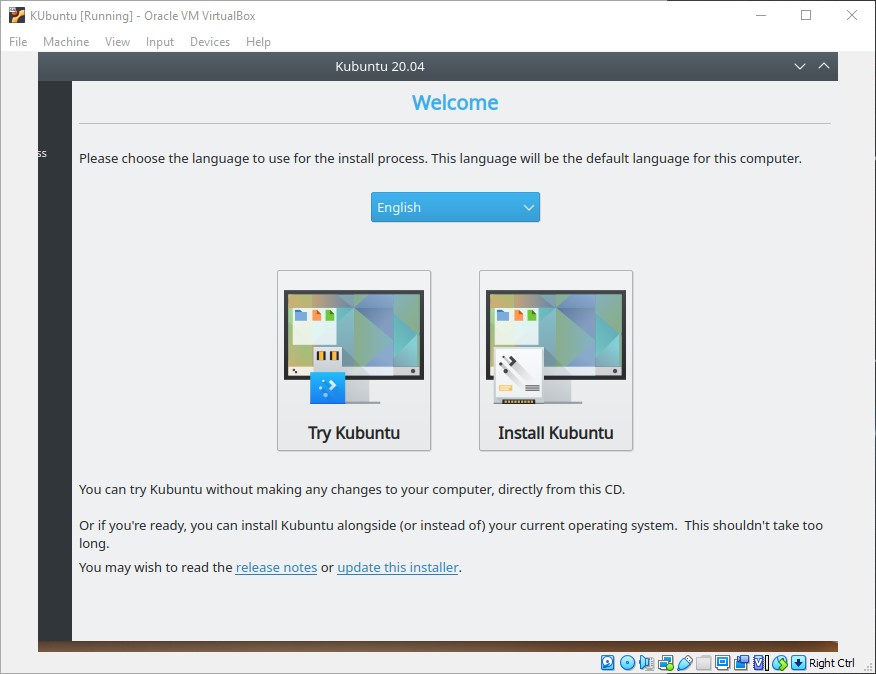
Option to try Kubuntu or Install Kubtuntu. Continue with 'Install Kubuntu'
If the right side of the window is cut-off, drag the window to the left (press & hold left mouse-button and move mouse to the left)
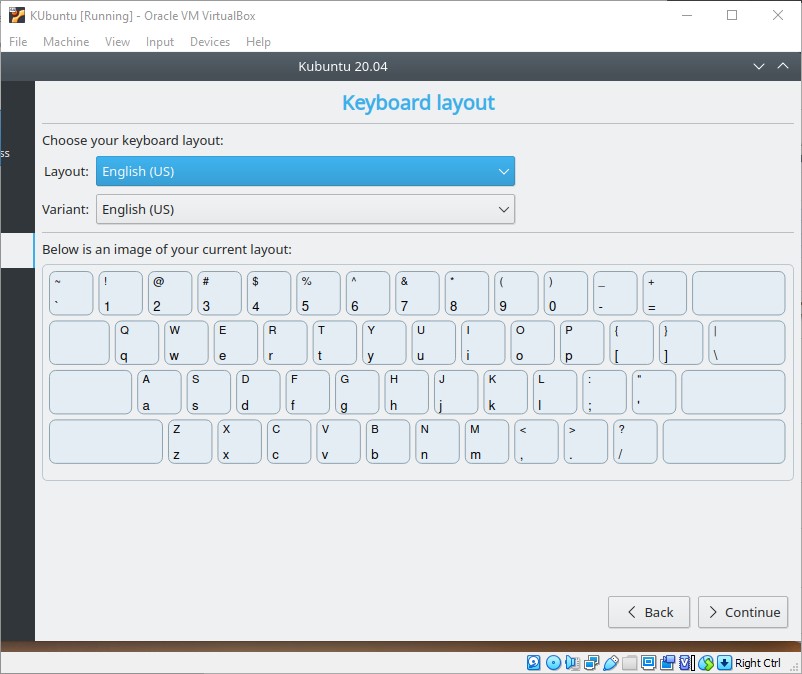
Select the correct keyboard layout. The displayed key-layout should match your keyboard
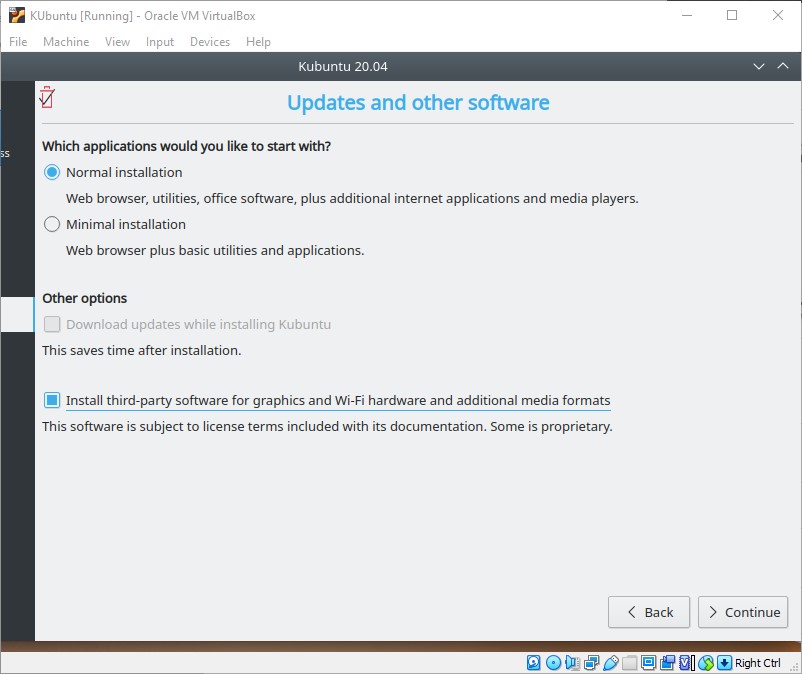
Select software options. After installation software can be added and deleted.
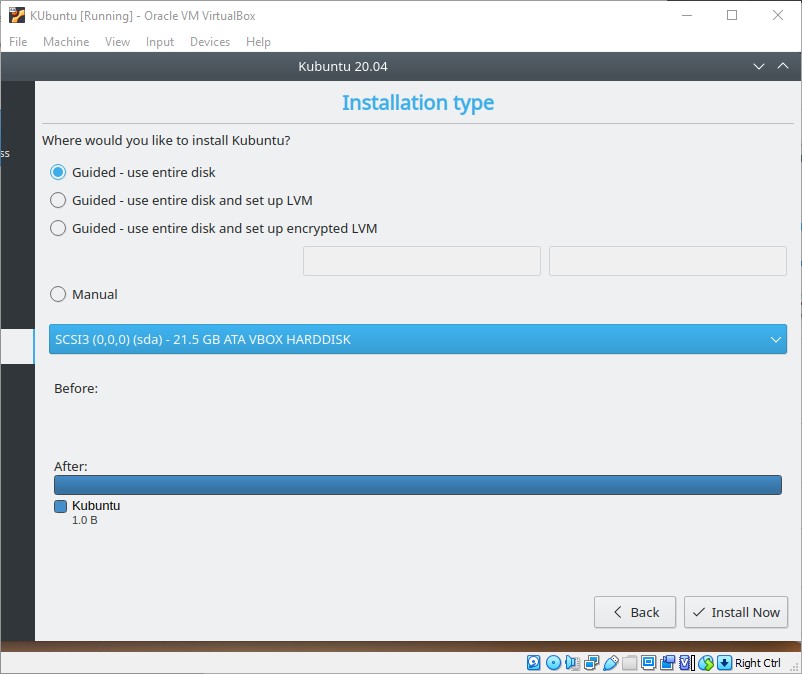
The Guided selection is appropriate for VM use.
For installation on a physical machine, LVM would be a better option. It allows addition of disk drives extending capacity and RAID options.
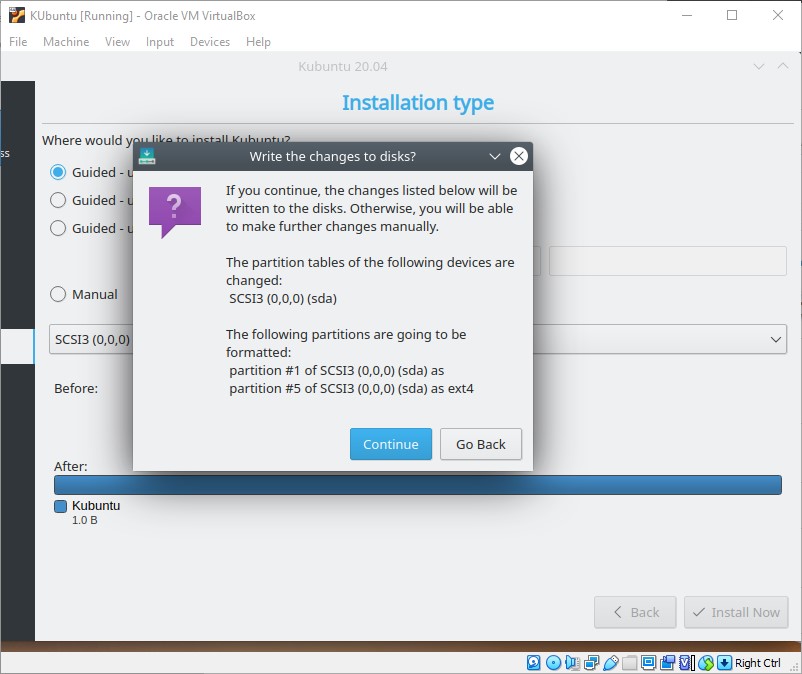
Select Continue as confirmation
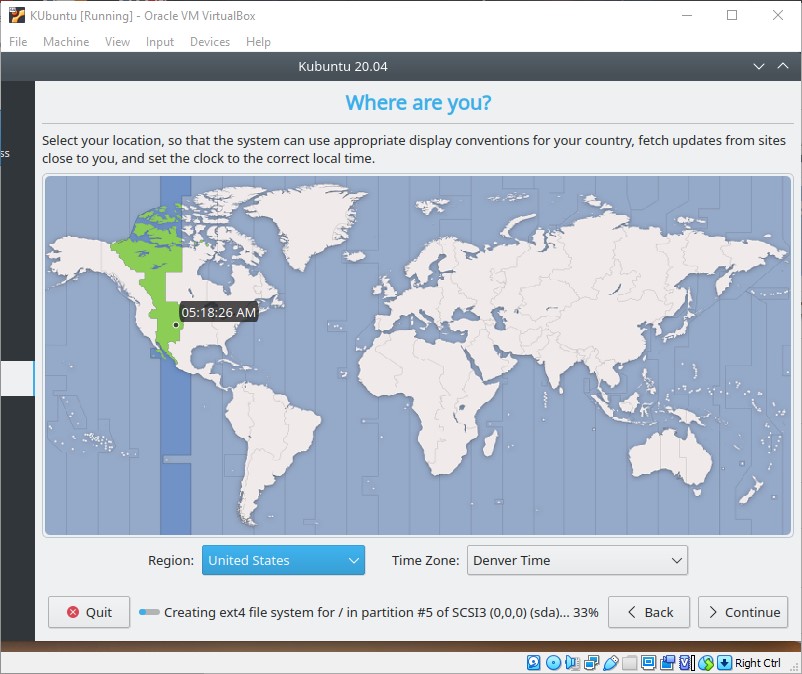
Select the Time Zone from the map or the dropdown menu's to use and Continue
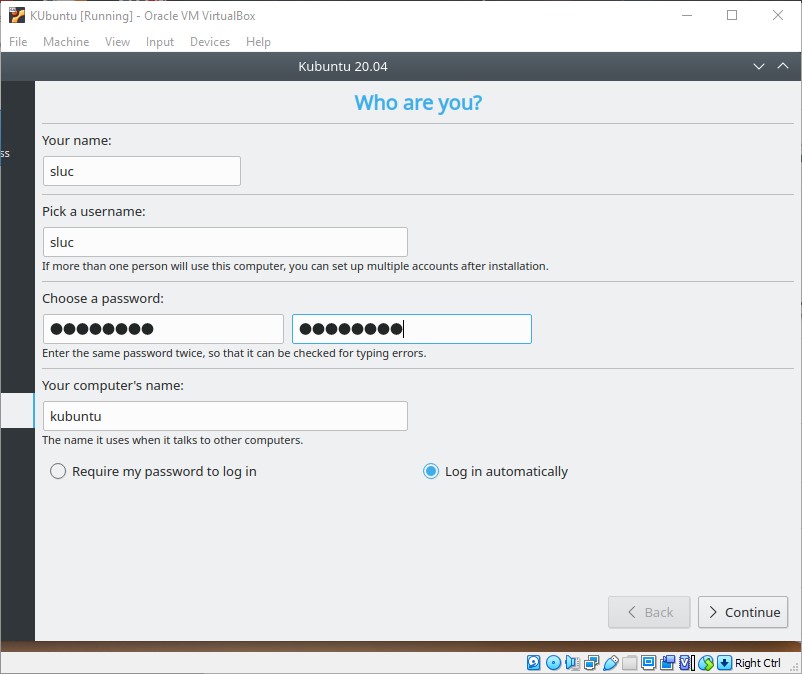
All fields are mandatory. Pick a password to remember. It can be required later after installation!!
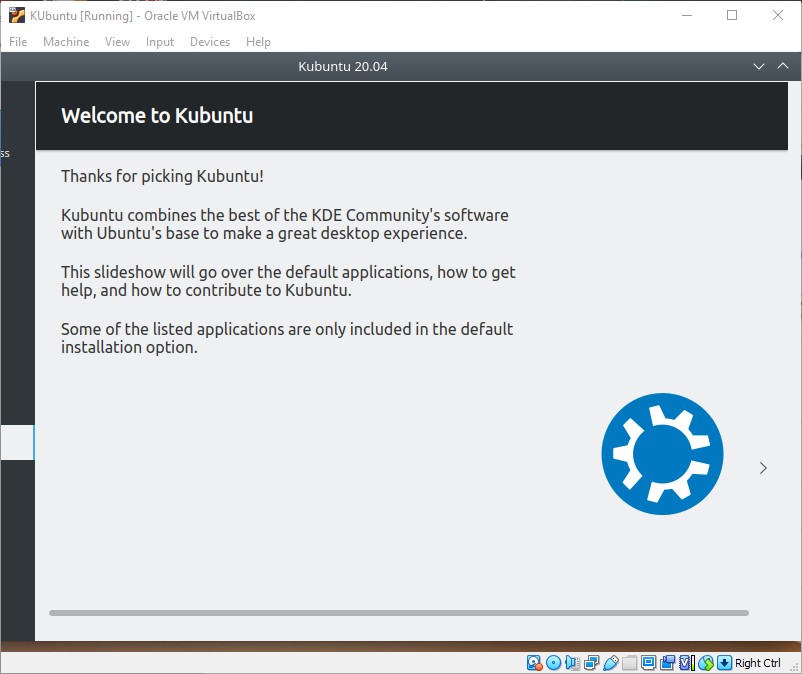
Installation progress. Press on the > sign to see next page.
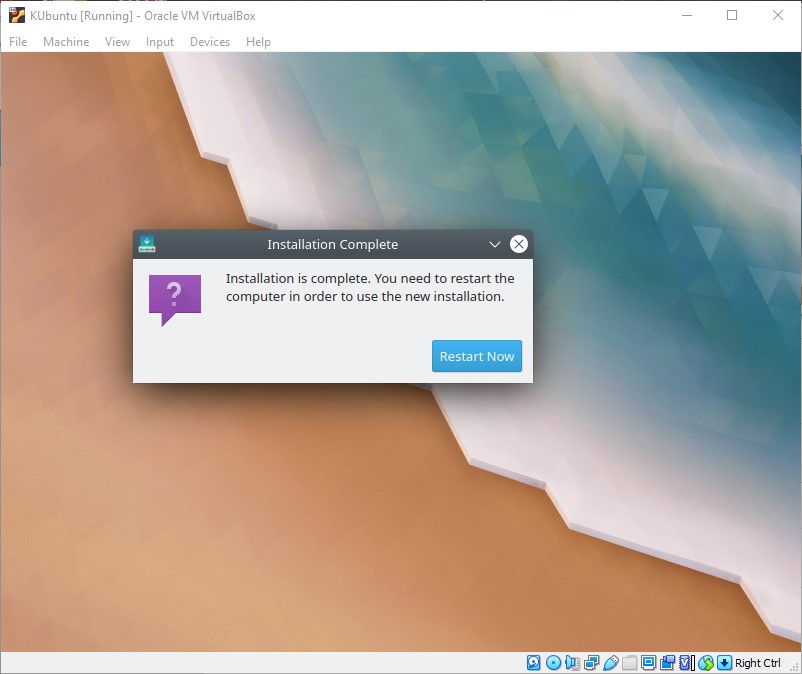
Installation is done. Press Restart Now to put Kubuntu to use!
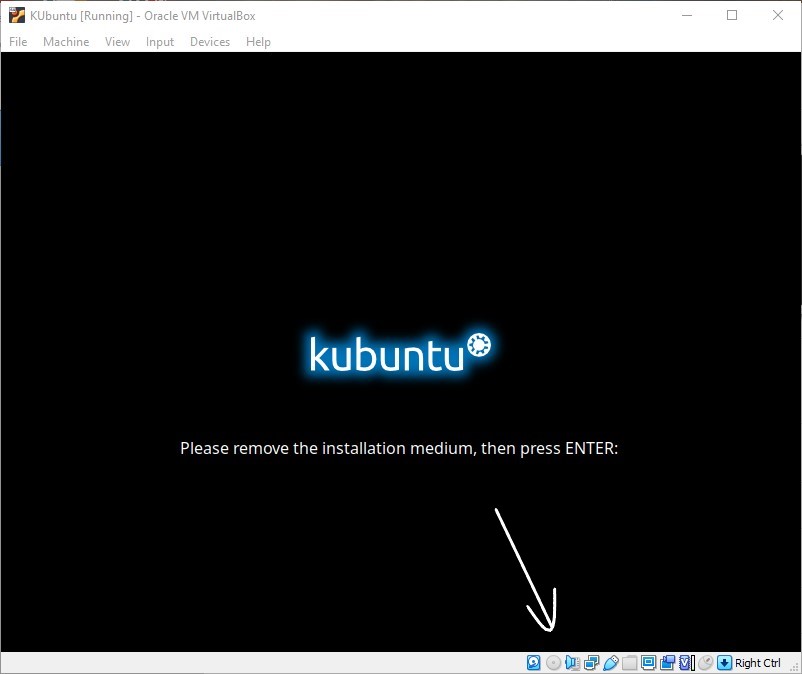
If not already removed, press the cd-icon and select remove virtual media. Press enter-key
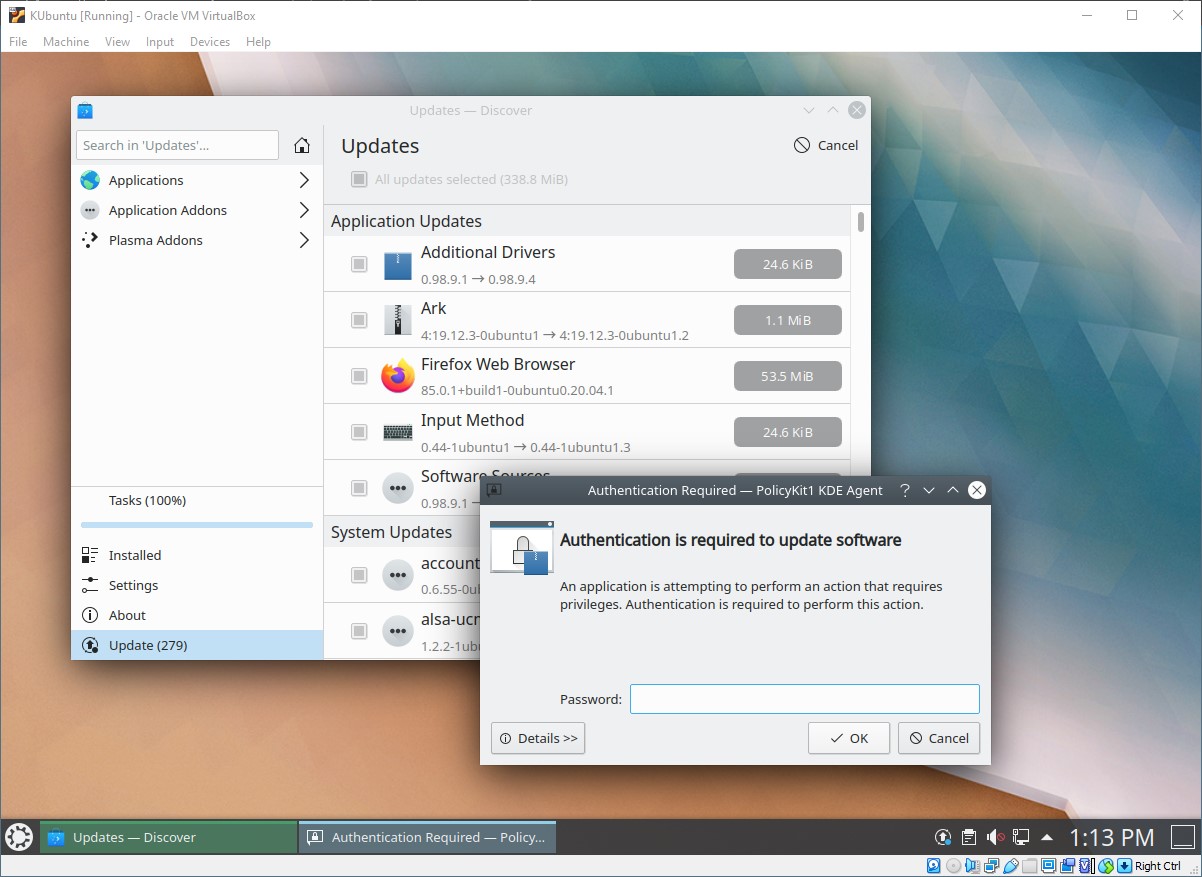
At first login, the update panel will popup. Press Update all and enter the password previously saved during the user-creation.
Depending on your host audio hardware, problems with the VM audio can arise. There is no one-fix-all solution. Look on the net for a possible fix.
Enjoy Kubuntu 20.04.

